I decided to make these because they look super yummy and because they remind me of Valentine’s Day, which is coming up pretty quick! I got the recipe from Sprinkle Bakes. If you haven’t made something like this before, I suggest watching the video she has up about it. It really helped me. I did do a few things differently though. Number one being that I used a cream cheese frosting. It isn’t as white as her butter cream filling, but it is delicious.
Another thing I had to modify was that I didn’t have parchment paper. I used aluminum foil instead. It turned out okay, although my cake did get a little too done on the edges. I’m not sure if that’s from the foil or some other factor.
I also didn’t have buttermilk, so I made some. I didn’t realize how easy it was. Every time I need it, I have to buy a whole thing of it when I only need 2 tablespoons or whatever. Anyway, if you need to make your own, just put 1 tablespoon of white vinegar into a container and then pour in just under a cup of milk. Don’t stir it. Let it sit for 5 minutes. That’s it. Measure out however much you need (2 tablespoons in this case).
Anyway, onto the recipe.
Your ingredients for the cake part are:
4 eggs
3/4 cup granulated sugar
1 tbsp oil
2 tbsp buttermilk
1 tsp cider vinegar
1 tsp vanilla extract
food coloring
1 cup flour
1 tsp baking powder
1/2 tsp salt

Preheat your oven to 350. Grease a 9×13 inch jelly pan (cookie sheet with edges) and line it with parchment paper (or aluminium foil as I did). Grease the lining as well.
Crack the eggs into a large bowl. Beat them with an electric mixer for five minutes. Yes, five minutes. Set a timer. After that is done, keep the mixer going and add your sugar and oil. Mix well. Add the vinegar, extract, and food coloring. You could make this any color you wanted to really. I should have used a few more drops than I did to make it a little more pink, but I didn’t want red.
After you have that all mixed in, the recipe says to sift the flour, baking powder, and salt together. I don’t have a sifter, so I didn’t. I just mixed them one at a time to the batter, and it was fine. (I think anyway…)
Pour the mixture (it is supposed to be pretty runny) onto the greased pan. Tilt the pan so that the mixture spreads evenly. Put it in the oven. Set the timer for 10 minutes and check it. I did mine for 11 and it was a little long, but it might take as long as 15. To tell if it’s done, lightly press the cake. It should bounce back and be spongy.
While the cake is cooking, sprinkle a cotton tea towel (not terry cloth) with powdered sugar. Get out a wire cooling rack.
 |
| See how my edges are a little too done? |
As soon as you pull the cake out, dump it out onto the towel. Mine actually folded over, but it didn’t break. Just try to be careful so you don’t ruin it. Again, if you watch the video
here it will help you.
Peel off parchment paper or aluminum foil and carefully roll the cake into the tea towel. Roll it as tight as you can.
Cream Cheese Filling
4 oz butter softened
4 oz cream cheese softened
2 cups powdered sugar
1 tsp vanilla extract
Mix it all together with a mixer. Spread it onto the cake. You won’t need all of it. If you put too much on, these get really messy. If I were to make this again, I think I would use the frosting called for in the original recipe, which was a swiss buttercream filling. It seems a little thicker and I think it’s prettier.
 |
This is what mine looked like when I unrolled it. See how the
edge is still rolled? And where it was too done, it did
crumble a little bit. |
Unroll the cake. Don’t worry about making it all the way flat, just roll it so you can spread the filling. After you spread the filling, roll it back up, without the towel this time.
You have a couple different options for cutting these. You can use a bread knife, it works okay. I like to use fishing line or floss. I do this when I make cinnamon rolls too. You get a long piece, about 12 inches or so, and you slide it under the roll. Put it where you want to cut it and bring both sides of the string up and cross them over the top of the dessert. Pull in opposite directions until the dessert is cut.
Enjoy!
See more desserts
here. Looking for an idea for dinner? Check out our
main courses.


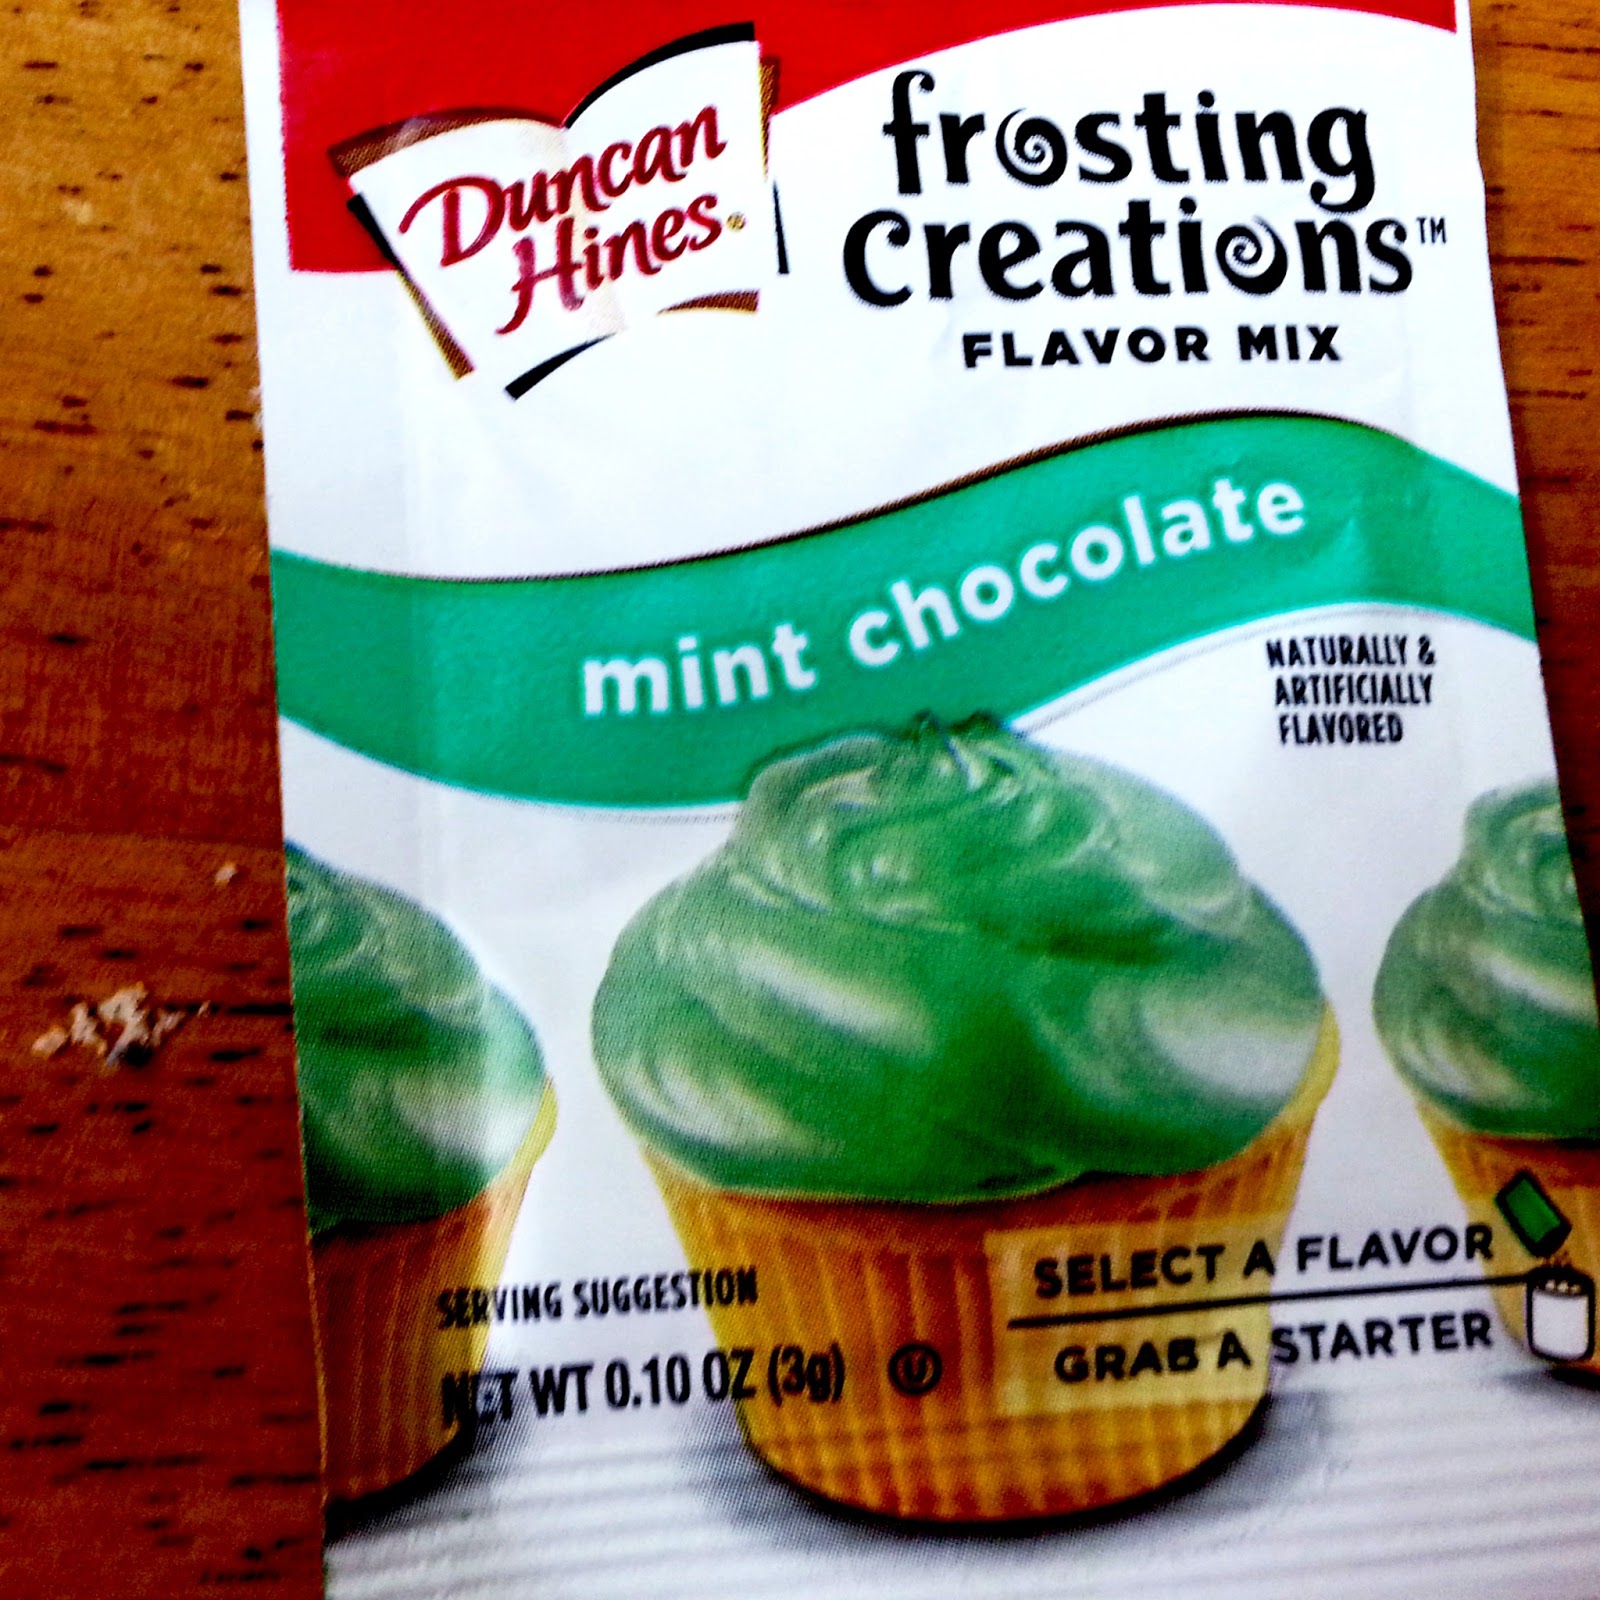
 I used an immersion blender (thanks mom!) and I used about 1/2 of the packet of the frosting creation for a 15 ounce shake. I didn’t use much chocolate syrup, just a little. And, it was super brown when I was done, so I mixed in some green food coloring, because who wants a brown milkshake?


 Thanks for stopping by! We are two sisters living 2000 miles apart and staying close through the internet! We're so glad you stopped by our page. We work hard to bring you fabulous recipes, tutorials, and to fill your life with awesome ideas. We hope you like what you see!